Bridge Defence
"In any boarding action, one of the most crucial places for an attacker to take is the Bridge. With the control of the vessel cut off and its commanders dead, a vessel is largely helpless in the face of attacks outside. However, the bridge of a vessel is often highly fortified, and Defenders will fight tooth and nail to keep control of it since without it, they are doomed."
Determine which player will be the Attacker and which player will be the Defenders.
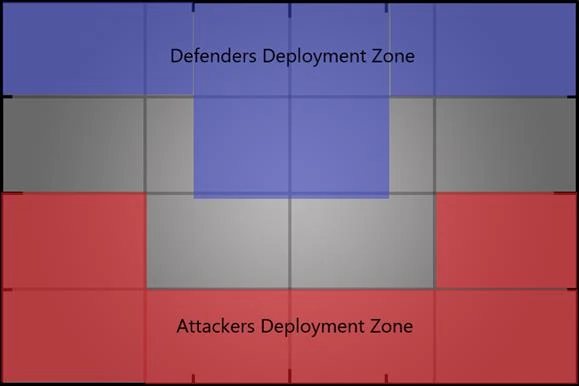
The Attacker is seeking to breach the command centre and slay all within, leaving the ship helpless in the face of their void attack. The Attacker deploys second.
The Defender is trying to hold the command section of their vessel. The Defender deploys first.
Final Stand
The Defender's units do not take Panic tests. They are considered to have automatically passed all Panic tests they are required to make.
Victory Conditions
The Attacker scores 1VP for slaying the Defender's Warlord.
Both sides score 1 VP for each quadrant of the battlefield they control after dividing the table into 4 quadrants. A player controls a quadrant if they have more models in that quadrant than their opponent. Units with the Bulky (x) special rule count as a number of models equal to the value of (x).
The side with the most VP at the end of the battle is the winner.
Special Rules
Battlefield Layout
Cross-Reference Links
Rules: